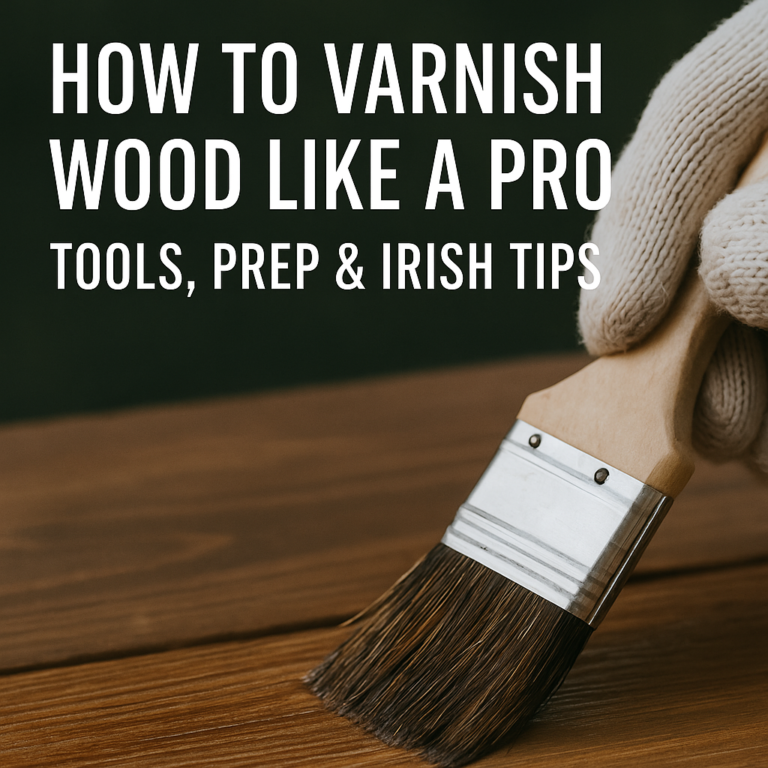
How to varnish wood like a pro: tools, prep & tips
Varnishing wood isn’t just about making it shiny — it’s about protecting it, preserving its character, and giving it the finish it deserves.
Whether you’re working on floors, furniture, bannisters or kitchen counters, here’s how to do it properly — no shortcuts.
Why varnish at all?
Lac (or varnish) seals the wood against:
- moisture and mould
- scratches and wear
- UV damage (for outdoor wood)
- and gives the surface a richer, deeper look
Types of wood varnish in Ireland
- water-based varnish – low smell, fast drying. great for interior use
- oil-based varnish – deeper finish, takes longer to dry. good for high-traffic areas
- polyurethane varnish – durable and scratch-resistant. excellent for floors
- yacht/marine varnish – toughest exterior option. holds up to rain, sun and sea air

Step 1: surface prep (the bit most people skip)
- sand the surface thoroughly. start with 120 grit, finish with 240 for smoothness
- remove old varnish with a scraper and sanding block if needed
- wipe clean with a tack cloth or damp lint-free rag. let dry
- optional: use wood filler if needed, but test compatibility with varnish first
Step 2: tools you’ll need
- high-quality varnish brush (or mini roller for large surfaces)
- stirring stick (never shake the can – it introduces bubbles)
- sandpaper (120–240 grit)
- clean cloths or tack rags
- optional: masking tape, gloves, drop sheets
Step 3: application – take your time
- stir varnish gently
- apply in thin, even strokes, following the grain
- let dry (follow the tin — usually 4–6 hours)
- lightly sand with 320 grit between coats
- apply 2–3 coats total, depending on product
varnishing tips
1: avoid humid days — varnish doesn’t cure well in damp air
2: warm up the tin slightly in winter for smoother flow
3: don’t overload your brush — thin coats win every time
Where to buy varnish in Ireland (trusted suppliers)
- Osmo Ireland – top-tier wood oils and varnishes
- Wood Coatings Ireland – trade-grade products
- Screwfix.ie – budget and branded options
- Woodie’s – good range for homeowners
- Lenehans – stockists of Rustins, Ronseal etc.
Varnishing isn’t complicated — but doing it right takes care, patience and the right materials.
If you want your wood to look good and last, follow these steps and skip the “quick jobs.”
Need advice for a specific surface?
Get in touch — we’re happy to help or take it off your hands.
