
When power washing exposes failing paint: an exterior repaint in Clarehall, Dublin
Not every exterior repaint begins with a straightforward clean and two fresh coats.
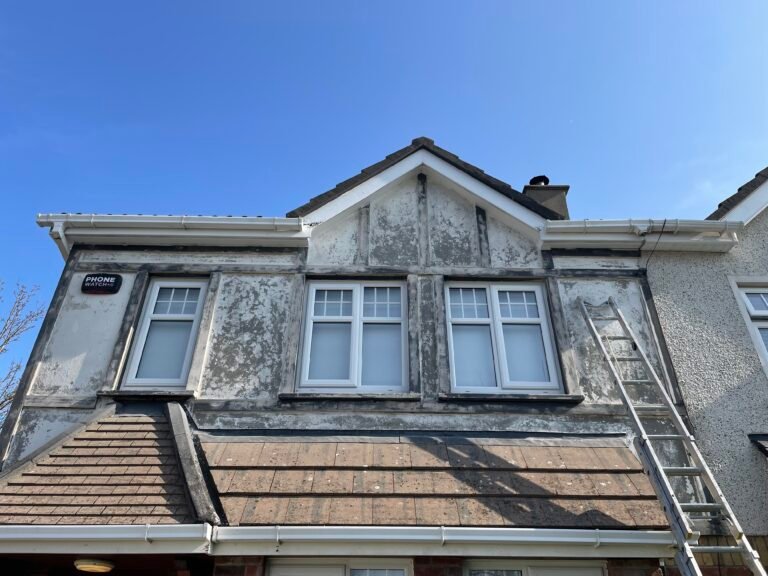
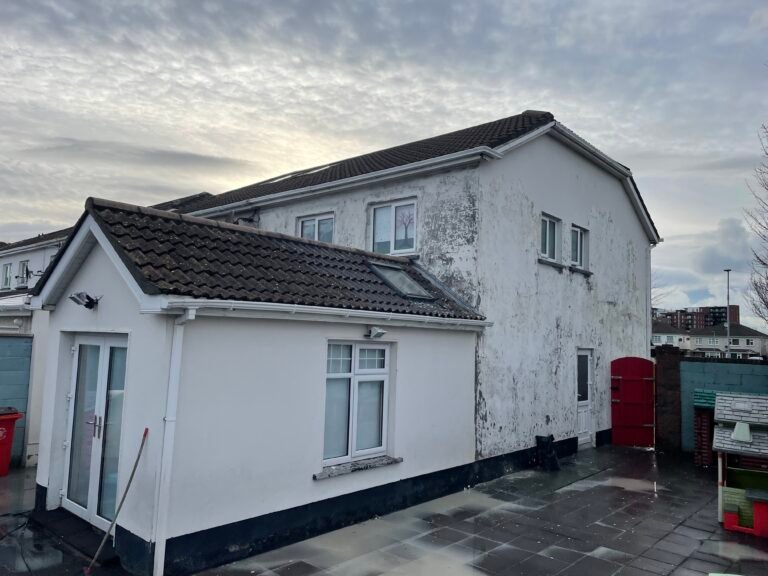
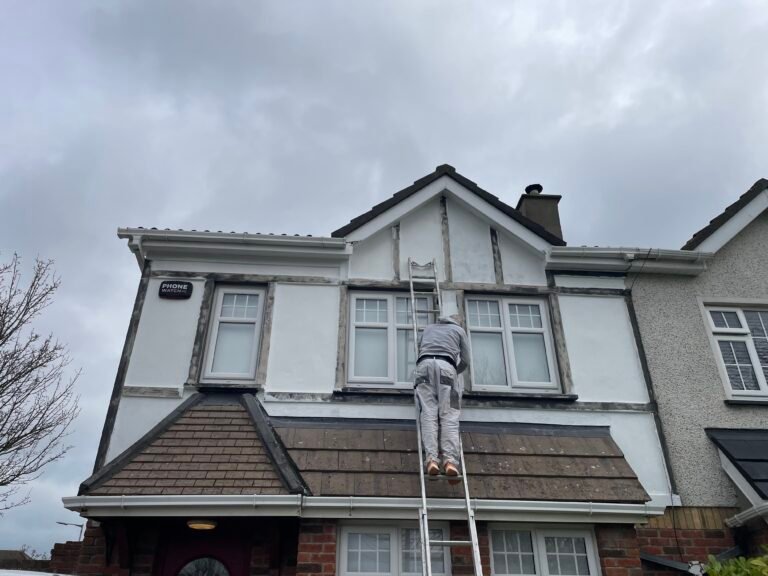
This recent project in Clarehall, Dublin, started with a strong power wash. The aim was simple enough: clean the exterior properly and prepare it for repainting. But once the surface was washed back hard, a bigger issue revealed itself. In several areas, the old paint had already lost its hold on the wall, and large sections came away, exposing clean masonry underneath.
That changed the nature of the job.
At that point, this was no longer just a standard exterior repaint. It became a preparation-led project, where the surface had to be stabilised properly before any new finish could go on.
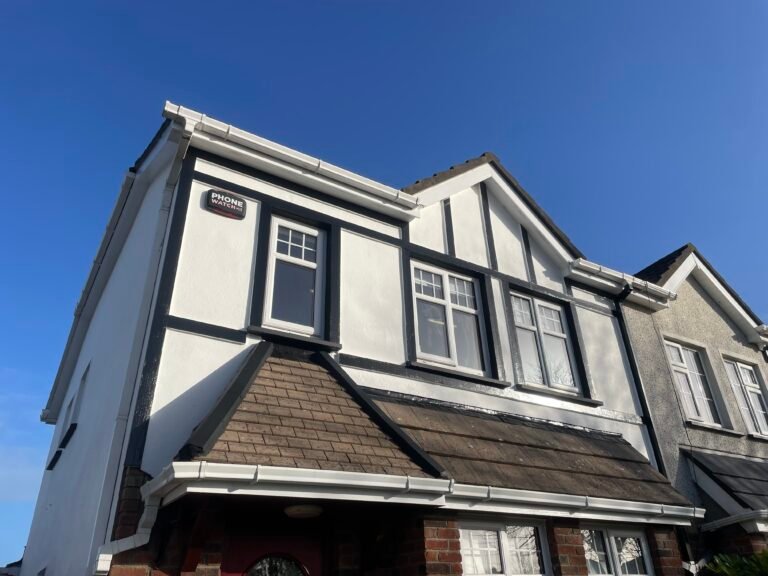
From a distance, the house still looked paintable. White walls. Dark lower band. Front timber detail. A simple structure that already suited the property well.
But exterior work is decided by the condition of the surface, not by how it looks from the gate.
Once the walls were power washed, the weak areas showed themselves properly. Some parts held. Others did not. In the failed sections, the old coating released and the masonry underneath was exposed. That is exactly the point where many exterior jobs go wrong. If those areas are ignored or rushed, the new paint may look well for a short time, but it will not hold the way it should.
So the wall had to be dealt with honestly.
Why loose exterior paint should never be painted over
When an old coating starts to fail, it makes no sense to trap that weakness under new paint.
Fresh masonry paint can only perform properly if what sits underneath it is sound. If the previous coating is already unstable, the new system is compromised before it has even begun.
That was the real issue on this house.
The power wash did not create the problem. It exposed it. In that sense, it was useful. It showed exactly where the wall had to be taken back, cleaned up and rebuilt properly.
That is always better than painting over doubt and hoping for the best.
Blog Link:
Painting a staircase properly: preparation, BIN primer and a cleaner finish
Taking the wall back to a sound surface
Once the loose material had lifted, the next step was to remove any remaining weak paint and bring the affected areas back to a stable base.
That stage matters more than most of the visible finish.
This is where the lifespan of the repaint is really decided. A clean, sound surface gives the new system a proper chance to bond evenly and perform properly through weather, temperature changes and general exposure.
On this project, the preparation had to be taken seriously because parts of the house were no longer just ready for repainting. They had gone back to bare masonry.
That changes the process.
Link: How We Work
Sealing bare masonry before repainting
Because sections of the wall were stripped back so far, the exposed masonry was sealed before painting.
That step was important for two reasons.
First, it helped control suction across the repaired areas. Second, it gave the new coating a more reliable and consistent base. Without that, bare sections and previously painted sections can behave very differently, which often shows up in patchiness, flashing or reduced durability.
This is the sort of detail that is easy to skip if the job is being rushed.
But on exterior masonry, especially around Dublin where surfaces take plenty of weather over the year, that kind of shortcut usually shows itself later.
Better to get the base right first.
What this project involved
This exterior project in Clarehall included:
• strong power washing to expose the true condition of the surface
• removal of failed paint where the old coating had lost adhesion
• sealing of bare masonry before repainting
• application of Dulux Weathershield on the exterior walls
• repainting of the front timber detail to restore the structure of the elevation
That combination is what brought the house back to a clean and reliable finish.
Using Dulux Weathershield for the final finish
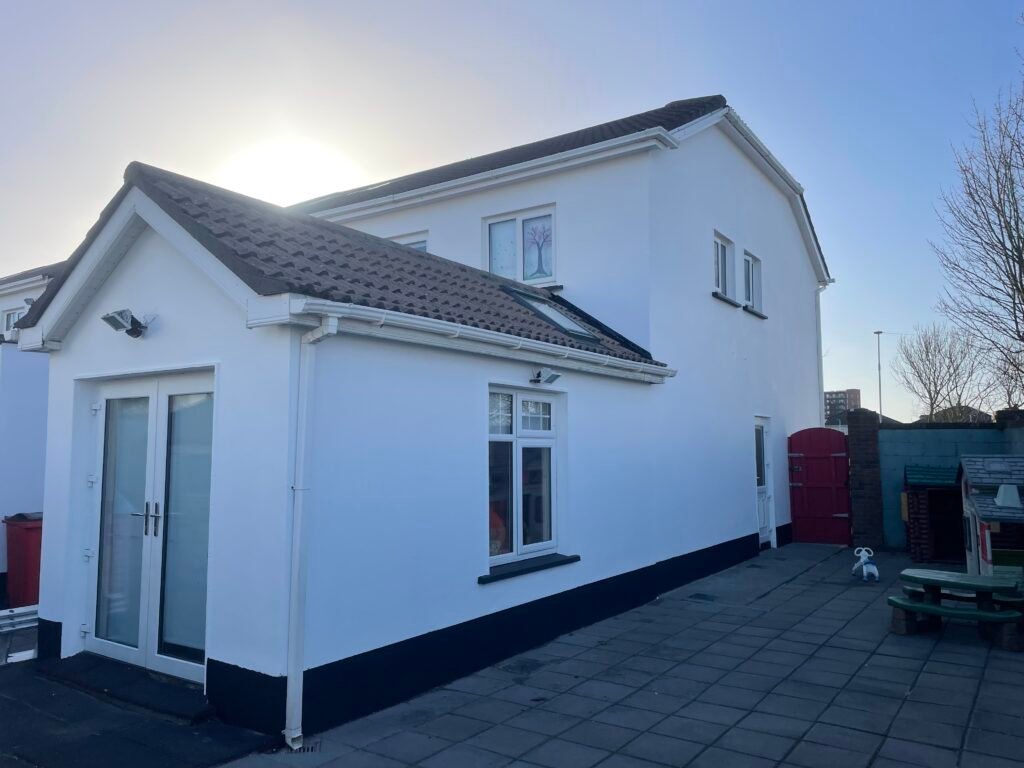
Once the preparation and sealing were complete, the masonry was repainted using Dulux Weathershield.
The aim here was not to make the house look flashy. It was to restore a clean, even finish that suited the property and would sit properly across the repaired elevations.
The final white worked well on this house. It brightened the walls, sharpened the overall look of the exterior and gave the property a much more settled finish. The darker plinth at the base kept the look grounded, while the white gutters and trims tied everything together cleanly.
It is a simple colour scheme, but when the preparation is done properly, simple usually looks better.
Repainting the front timber detail
One of the most important visual parts of this project was the front timber detail.
These darker lines across the front elevation do a lot more than people think. When they are faded or patchy, the whole front of the house can look tired. When they are cleaned up and repainted properly, they give the house structure and definition again.
That front wood detail was repainted as part of the job, and it made a real difference to the final result.
Against the fresh white walls, the darker finish now frames the elevation properly. It gives the front of the house a stronger outline and helps the whole property look more maintained, not just more recently painted.
Need exterior painting in Clarehall or nearby?
If your exterior is flaking, patchy, chalking or starting to fail after washing, it is better to deal with it properly before it gets worse.
I carry out exterior painting work across Dublin with a strong focus on preparation, sound surfaces and finishes that suit the house they are on.
If you are based in Clarehall, Malahide Road, Donaghmede, Belcamp or nearby, and you are planning an exterior repaint, feel free to get in touch.